Spring Reset for CNAs Ready to Add Phlebotomy
Adding phlebotomy skills can turn your CNA experience into something even stronger. You already know how to care for patients, communicate with families, and support the healthcare team. When you add phlebotomy training, you become someone who can both comfort the patient and collect the blood that helps providers make decisions.
Spring often feels like a reset, and it can be a good time to refresh skills before summer hiring picks up. A full career change is not required. You just need a clear, simple plan that fits into your life and gets your mind and hands ready for a formal phlebotomy class.
That is what this four-week micro-practice plan is for. It is built for busy CNAs who may be working long shifts, caring for family, or both. You will use 15- to 30-minute practice blocks at home, one weekly skill theme, and easy checkpoints so you can feel more ready when you step into a phlebotomy training lab. As a local training center in Roswell, Georgia, we at DuMonde Management & Consulting see how this kind of prep can turn into real confidence at the blood draw chair.
Week 1: Phlebotomy Mindset, Safety, and Anatomy Refresh
This first week is about shifting from “I help” to “I perform” blood draws. You are moving from supporting role to procedure lead. That starts with understanding how a standard blood draw flows, from the provider order to labeling and getting the specimen to the lab without delay.
For at-home learning, give yourself short daily focus blocks like:
- Review basic circulatory system diagrams and common venipuncture sites, such as the median cubital, cephalic, and basilic veins
- Watch short anatomy videos that highlight arm veins and how they relate to nerves and arteries
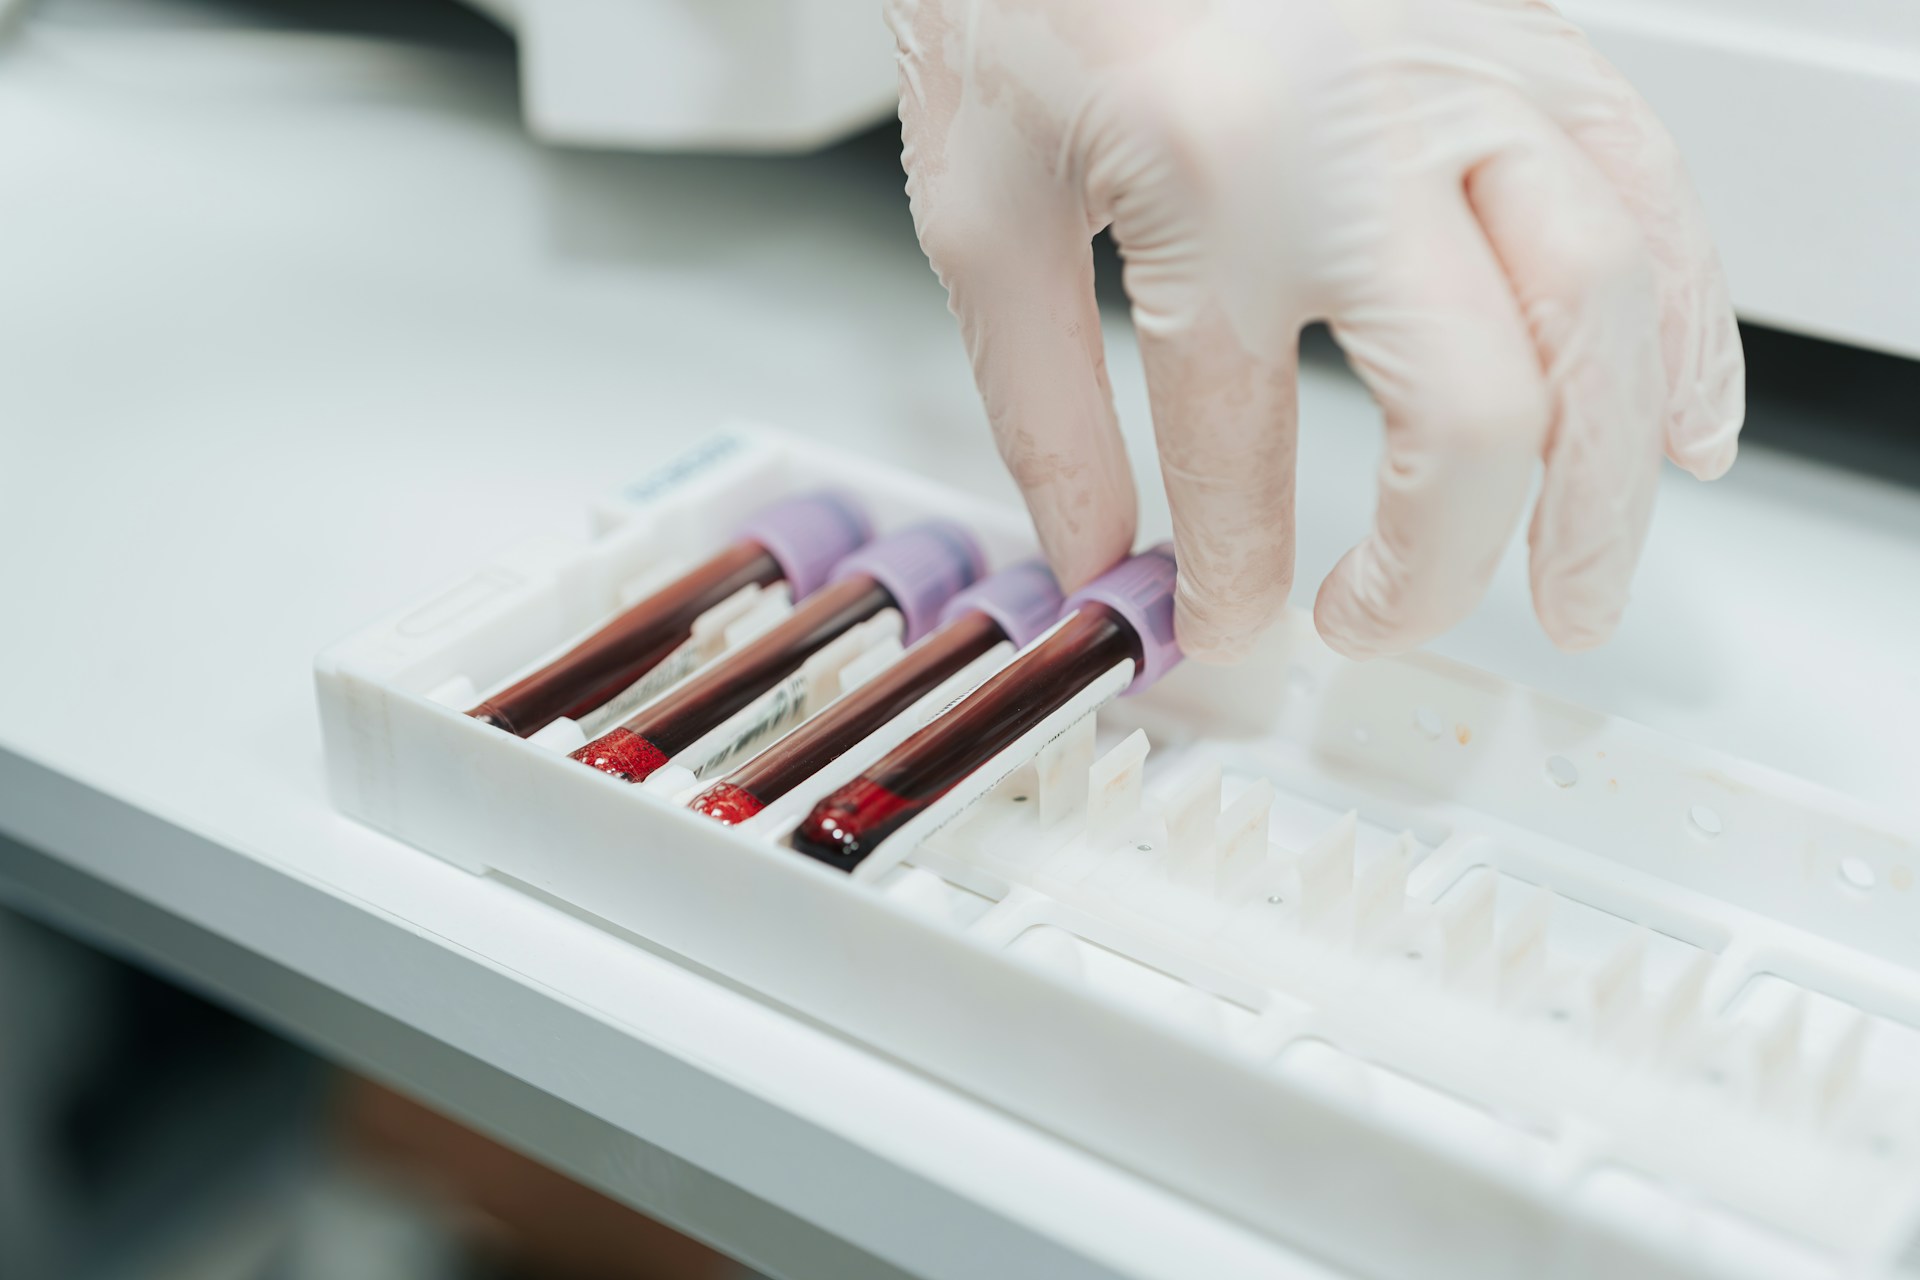
- Make flashcards for common tests and tube colors, such as CBC, BMP, coagulation studies, and the tubes they usually go in
- Quiz yourself on which tubes are used for what general purpose, like hematology, chemistry, or coagulation
Tie this to safety and infection control, something you already know as a CNA. Refresh standard precautions and sharps safety. Read over post-exposure steps so they are fresh in your mind. Then create and practice a simple verbal “safety script” you plan to use every time:
- Confirm patient ID with two identifiers
- Ask about allergies or past problems with blood draws
- Explain what you will do, including pressure and aftercare
- State out loud how you will label and check tubes before you leave
Your Week 1 checkpoint:
- Can you talk through each step of a safe venipuncture, from greeting to specimen transport, without looking at notes?
- Can you correctly match at least 8 to 10 common tube colors to their additives and basic use?
If the answer is “not yet,” keep your flashcards close and repeat your script until it flows.
Week 2: Equipment, Ergonomics, and Venipuncture Workflow
Now you focus on tools and flow. Even without a real tray, you can build a “mental tray” that keeps you organized. On paper, list every common venipuncture item and what it is for: tourniquet, alcohol prep, gauze, tape or bandage, needles, holders, tubes, labels, gloves, sharps container.
Use your kitchen table as a mock station. Lay out everyday items to stand in for supplies. Practice:
- Setting up your tray in a clean, logical order
- Placing items in the direction you will reach for them
- “Tearing down” the area after the draw, including hand hygiene and sharps disposal
Bring in your CNA body mechanics. Practice how you would stand or sit to protect your back while reaching a patient in a chair or in bed. Work on:
- Keeping your shoulders relaxed and not twisted
- Supporting the patient’s arm with pillows or rolled towels
- Applying the tourniquet for the right amount of time so it helps, not hurts
Your “lab-style” goal this week is a full dry run of a venipuncture without a needle. Move your hands through each step. Time your tourniquet. Say the order of draw out loud as you “collect” each tube and then “label” them while still at the bedside.
Your Week 2 checkpoint:
- Can you set up and break down a mock venipuncture area in the correct order in under 3 to 4 minutes?
- Can you explain the order of draw and why mixing additives in the wrong order can affect test results and patient care?
Being able to say the “why” behind each step will help you stand out in phlebotomy training.
Week 3: Patient Communication, Anxiety, and Special Situations
By Week 3, you turn your attention to people skills around the needle. You already talk with patients all day as a CNA. Now you shape that into a clear, calm blood draw script.
Write and rehearse short explanations of the procedure for:
- A nervous adult who hates needles
- An older adult who bruises easily
- A caregiver with a pediatric patient who wants to know what will happen
Practice getting informed cooperation in under 60 seconds. That includes verifying identity, explaining what the patient may feel, and telling them how long it should take. Keep your tone steady and warm.
To manage anxiety, both yours and the patient’s, test out quick grounding tricks. Take a slow breath, soften your shoulders, and use a step-by-step self-talk in your head as you go from tourniquet to tube. Have a few phrases ready that normalize fear of needles, like “A lot of people feel nervous about this, you are not alone,” while you keep the process moving and safe.
Think through special cases you may see in class and on the job, such as:
- Fragile veins that roll or collapse
- Patients with obesity where veins are deeper
- Dehydrated patients with poor vein filling
- Limited mobility where repositioning is a challenge
Plan how you might adjust site choice, angle, or position. Also ask yourself what you would do if you cannot get a vein on the first try. When would you stop and ask for help? What should be documented?
Your Week 3 checkpoint:
- Can you role-play a full interaction that keeps a nervous patient informed and as calm as possible from greeting to aftercare instructions?
- Can you name at least three adjustments you would make for patients with difficult veins or limited mobility?
These communication skills are a big part of safe and respectful phlebotomy practice.
Week 4: Practice Drills, Documentation, and Readiness for Class
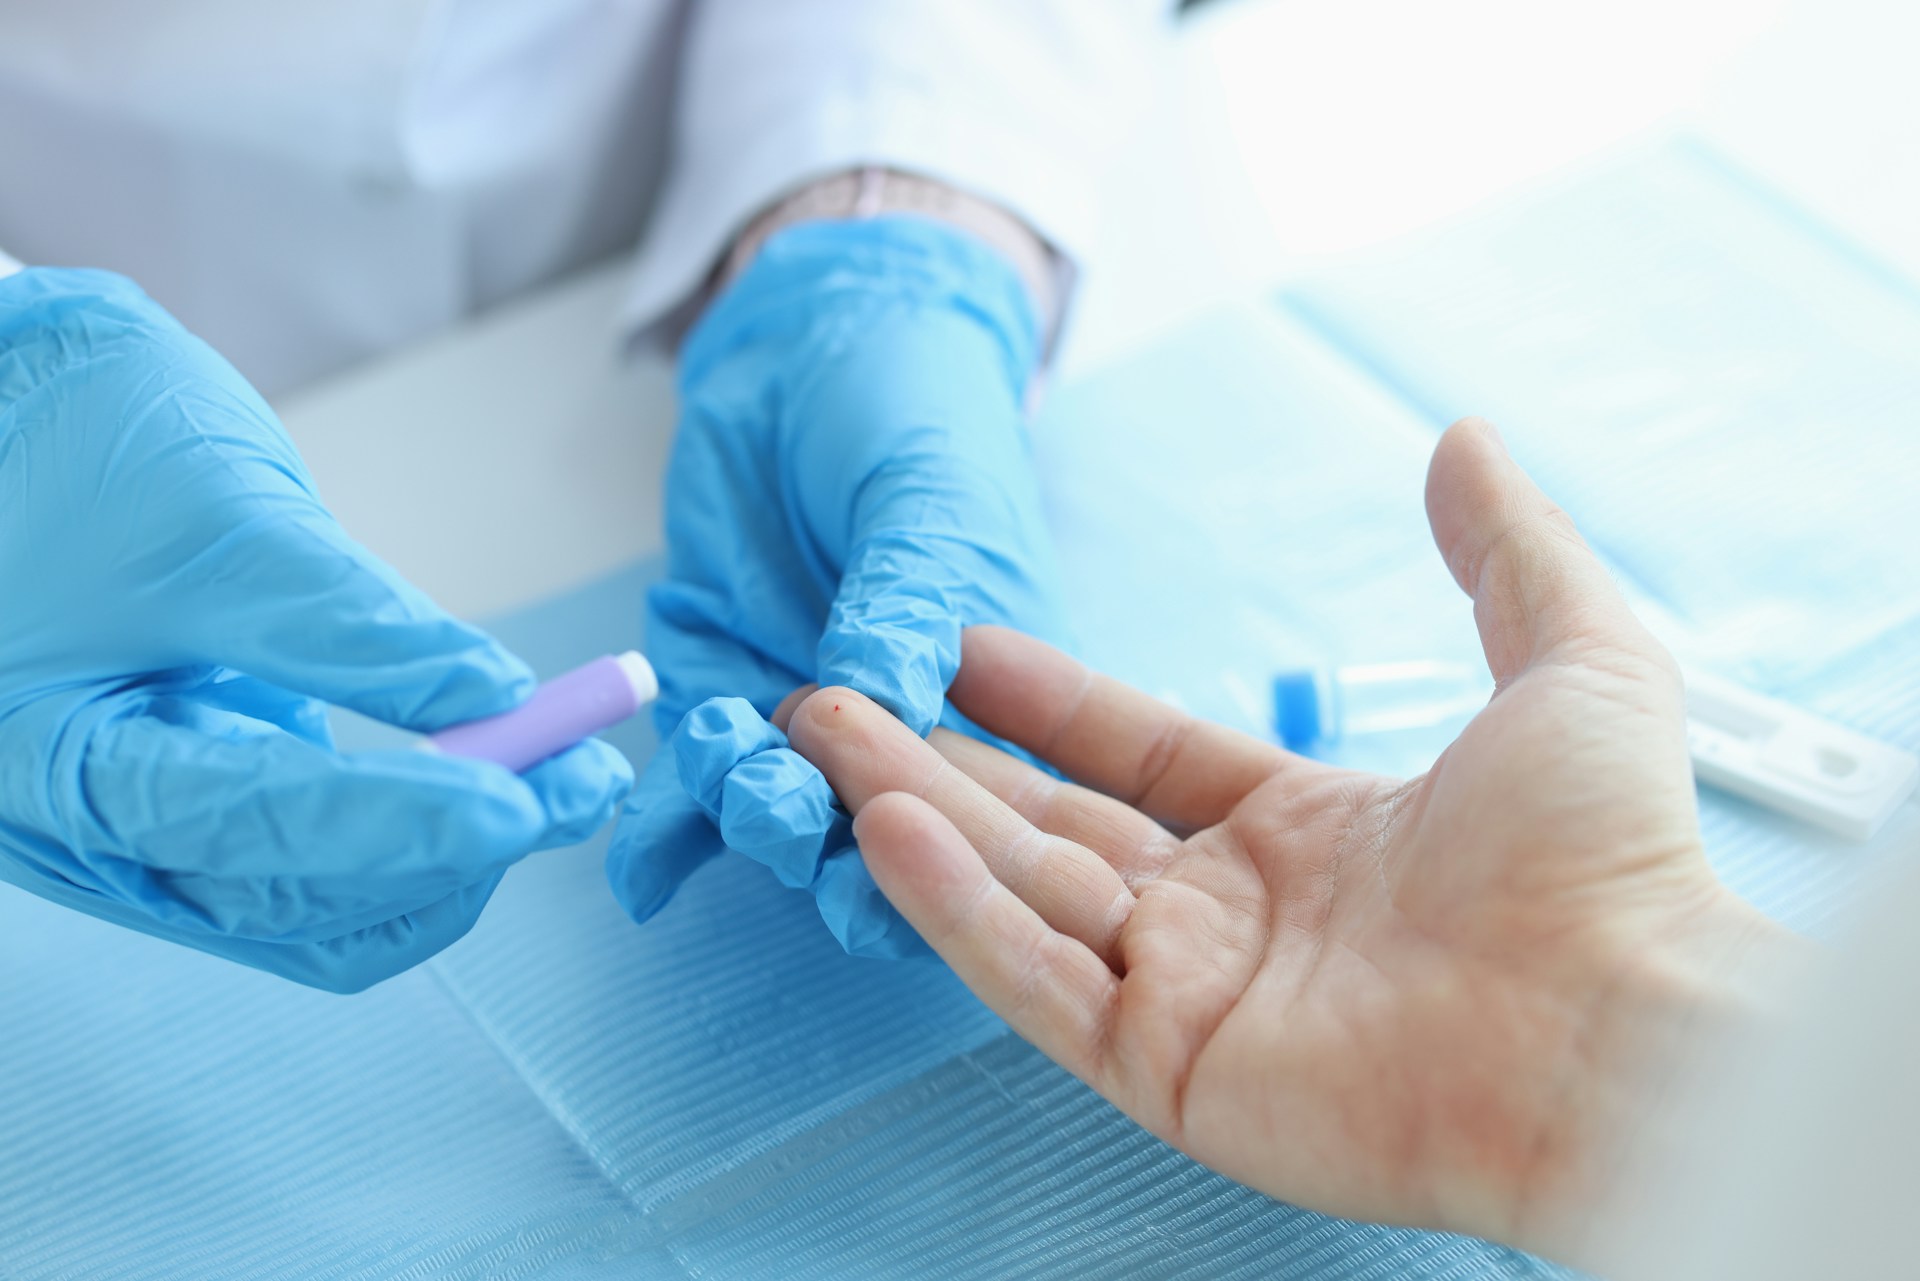
This final week brings everything together. If you have a practice arm or vein simulation tool, use it. If not, many people practice on fruit to get a feel for angle and gentle pressure. Work on:
- Finding landmarks before “insertion”
- Keeping your hand steady as you enter at the correct angle
- Stabilizing the “vein” so it does not roll
Time your full mock draw from greeting to labeling. You are not racing, you are aiming for calm, repeatable steps. Each run should feel a little smoother.
Then focus on documentation and error prevention. Practice saying and doing proper patient identification every time, even in your drill. Talk through what must be on each label and what you check before you leave the bedside or chair. Write a few sample chart entries for both successful and unsuccessful attempts that are short, clear, and professional.
To see if you feel ready for a formal class, build a simple phlebotomy readiness checklist around:
- Anatomy knowledge and vein sites
- Tube colors and general test types
- Step-by-step venipuncture flow
- Safety habits and sharps handling
- Communication skills with anxious or complex patients
Mark your top two strength areas and your top two areas you want to improve. These become great questions for your instructors when you begin phlebotomy training.
Your Week 4 checkpoint:
- Can you complete three full tabletop mock draws in a row without skipping an identification, safety, or labeling step?
- Can you explain what each step does for patient safety and lab accuracy, in your own words?
Turning Your Four-Week Plan Into Real Phlebotomy Credentials
This four-week micro-practice plan is not meant to replace formal education. It is a warm-up that helps your brain and body feel ready so your phlebotomy training time is less stressful and more productive. You have moved from big-picture understanding of blood draws to specific habits that support safe practice.
At DuMonde Management & Consulting in Roswell, Georgia, we offer phlebotomy classes designed for people like you, CNAs who already know bedside care and want to add skilled blood collection to their toolkit. Our local training space gives you the chance to turn these at-home drills into supervised practice, real venipuncture attempts, and clear feedback from experienced instructors. As you carry this four-week work into the classroom, you build not just knowledge, but a stronger healthcare career path for every season ahead.
Take The Next Step Toward A Confident Healthcare Career
If you are ready to build practical skills that employers value, our phlebotomy training is designed to help you move forward with confidence. At DuMonde Management & Consulting, we focus on real-world preparation so you feel ready on day one. Whether you have questions about schedules, enrollment, or program details, we are here to walk you through your options. Simply contact us to get started.